How To Do Laundry: A Beginner’s Guide
Wondering how to do laundry?
It’s not a hard task, but if you’ve never done it before there are some tips and tricks that will help make it a whole lot easier.
Never having done laundry before isn’t something to be ashamed of. There are plenty of reasons why you might never have tackled this particular little task. But now that you’re out on your own, it’s your responsibility to take care of those dirty clothes.
From separating your clothes (colors, blacks and whites shouldn’t all be done together) to figuring out how much laundry detergent goes in the wash cycle, this handy guide will help you get the job done.
You’re about to be a washing pro, are you ready?

How to do laundry
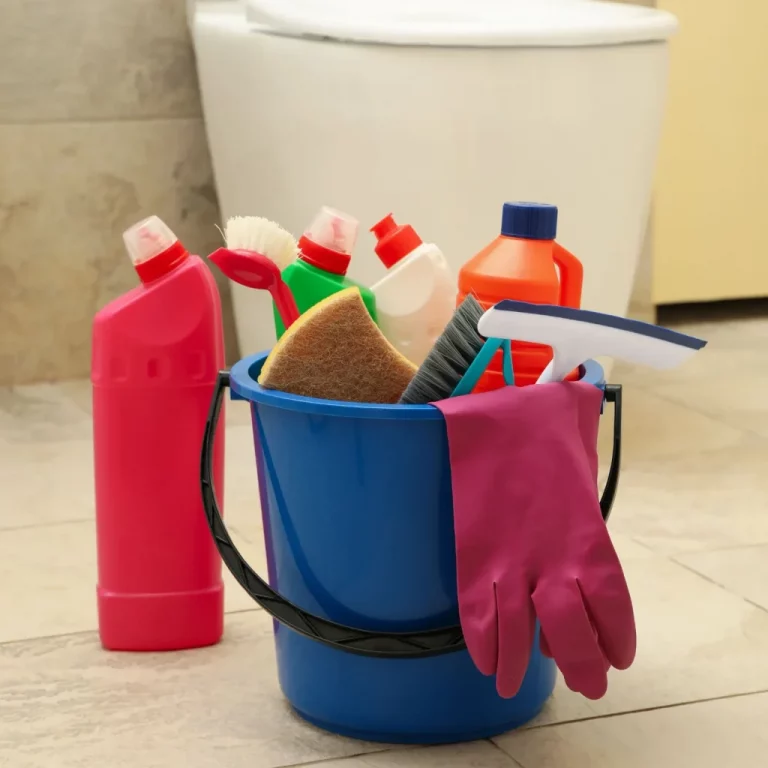
Just like cleaning the bathroom, laundry is an adult chore. But it doesn’t have to be one that leaves you feeling overwhelmed.
Whether you have a machine in your house or you need to pack up your laundry bag and head to the local laundromat, we’ve got it handled.
By following these simple steps, you can get your clothes clean and fresh in no time:

Image: Amazon
Step 1: Separate your laundry
The first step in our guide to doing laundry is the art of separating your clothes. You can’t simply throw your laundry into the washing machine all willy-nilly and hope for the best. You need to separate.
To properly separate your clothes you’ll need three piles—lights, darks and colors.
You want to be extra careful that you aren’t washing any items that are white, light grey or bright neutral tones with any blacks or reds. In one of my first attempts at laundry, I made the mistake of throwing colors in with something white and ended up with an accidental light pink shirt. Oops!
Likewise, dark wash jeans, especially new ones are disastrous with light colors.
Separating your items also means checking fabric care labels. Fabric type is an important consideration, you want to keep hour heavier fabrics in a different load from delicates. Don’t wash towels and blouses together!

Image: Amazon
Step 2: Pre-treat any stains
With your items separate, it’s time to pre-treat any stains. I recommend a stain remover like OxiClean or Shout. Ideally, you treat these stains as soon as they happen so you have the best chance of getting rid of them.
There are also household remedies that you could try to use. However, I’ve always had the best success with store-made. I’ve successfully removed blood from light color and sheer fabric with both Should and OxiClean.
If you don’t pre-treat stains, or you leave the pretreatment too long, you risk the stain becoming permanent. Not only is this generally a bummer, but it’ll cost you more in the long run to replace all those items… and clothes add up!

Image: Amazon
Step 3: Use the washing machine
Pre-treatment done, it’s time to start the wash cycle.
You might have to head to a shared laundry facility in your building or head down the street to the local laundry mat. But some of us lucky ducks have a washer and dryer right in their apartment or house.
This should go without saying, but you’ll want to do your laundry one load at a time. You don’t want to over-stuff the washing machine (or dryer). Too many clothes can cause the machine to leak, but not too many means you’re doing more loads then necessary.
Don’t want to go to the laundromat? Get a portable washing machine ➡️
Before you put any clothes in the machine, make sure you read the washing instructions on each tag. Individual item takes will tell you whether you’re working with delicate fabrics, or if you need something more heavy duty. It can also determine things like water temperature — if you can, wash with cold water as it’s more environmentally friendly!
Next, you want to load yours soap in the washing machine. The machine will say right on it where to put the soap. My washing machine is one of the compact apartment front-load machines, so the soap goes into a pull-out compartment at the top corner.
Once the machine is loaded, turn it on and let it go through the cycle. You can adjust things like cold or hot water or how vigorous the load is, right on the front or top of the machine. If you’re planning on using a fabric softener, you’ll want to add it before you start the load.

Image: Amazon
Step 4: Switch to the dryer
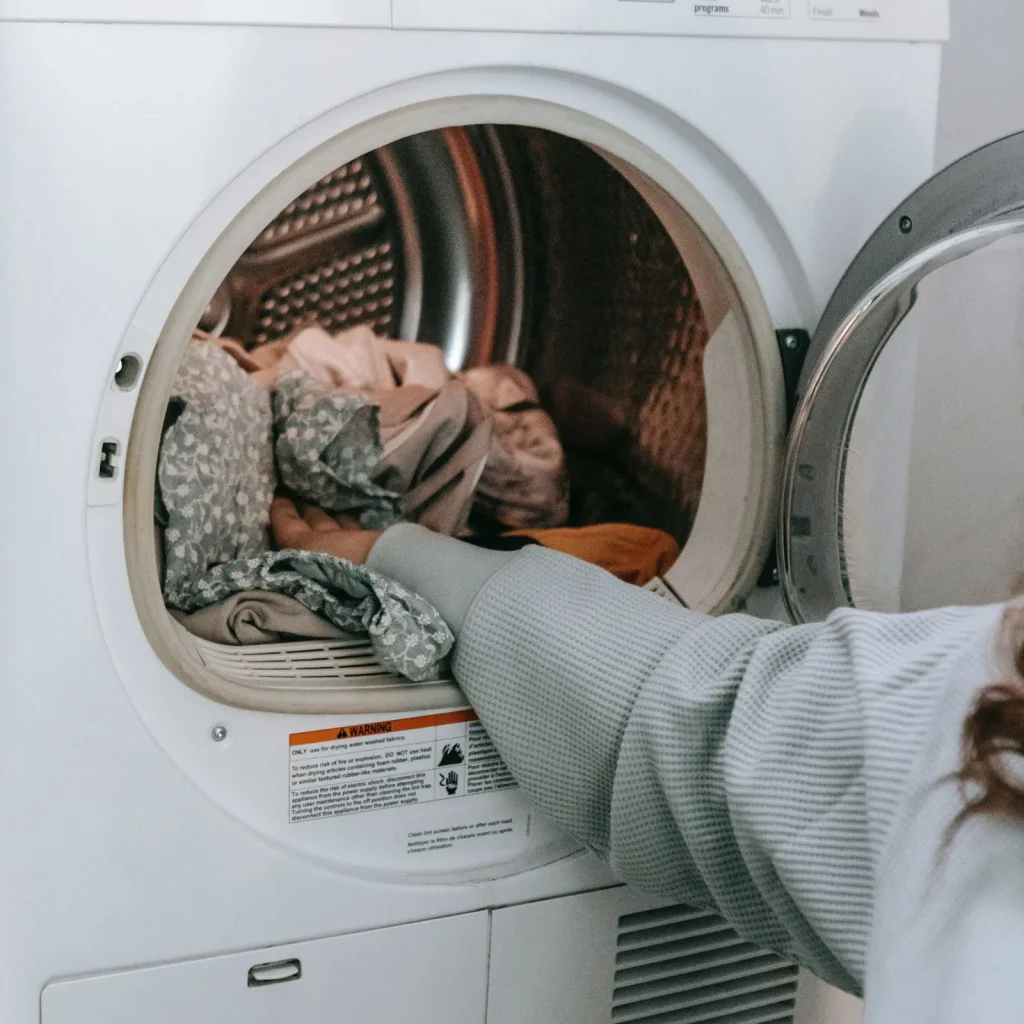
The washing machine should beep when it’s finished, indicating that it’s time to move your clothes to the dryer. Using the dryer is incredibly easy — you simply load it, set the temperature and time, and turn it on.
Not sure what temperature to turn it to? Check the tags.
You want to make sure that you don’t over-stuff the dryer either, otherwise you clothes will take too long to try or they won’t come out dry at all. If you have a dryer (like mine) that seemingly takes longer, you might want to opt for a longer cycle right off the bat.
Before you press the on button, make sure that you clean out the lint trap. Dryer lint is one of the biggest causes of fires in homes, so you’ll want to make sure that you clean it every single time.
If you’re looking to save a little cash while you launder your clothes, I recommend only using half a dryer sheet. It really doesn’t save a ton of money but every penny helps. Truthfully, you only need half a sheet for smaller loads and it means your box lasts longer. I had a box of Bounce Dryer Sheets that lasted me almost three years, and still had clean clothes!

Image: Amazon
What do you do if you can’t use the dryer?
Not all of your clothes can be thrown into the dryer. Some more delicate materials will shrink rendering your clothes to small to wear. In that case, there are old-school drying racks.
Drying racks are pretty simple. Just unfold the rack, hang your clothes and leave them until they’re dry. When I air-dry clothes, I tend to leave clothes overnight to dry. If you’re having a particularly hard time drying clothes, it helps to flip them over.

Image: Amazon
Step 5: Put away your clothes
Once your clothes are washed and dried, the last step in our guide do doing laundry is to put away your clothes.
This seems like an obvious tip, but I find that if I don’t put away my clothing right away, it sits in the basket for days. Beyond that, the longer your freshly-washed clothes sit in your laundry basket, the more wrinkled they’ll be. And wrinkled clothes are not cute to wear!
If you have more delicate pieces or even work-specific clothes, I highly recommend using some garment bags. This is especially the case for fancier dresses or blazers. I also recommend pants hangers to keep them from wrinkling.

Image: Amazon
Last minute laundry tips
Before you head off to get your laundry on, I have a few more tips and tricks that I’d like to include in my guide to doing laundry:
- Avoid using laundry soap packs. I used to really like them because they were super easy, just grab one and go, but I found that they left a powdery residue on my clothes, especially my business pants. I personally use a liquid detergent, I’ve had no issues with it.
- If you want a nice scent for your clothes, I recommend throwing a few Downy Unstoppable beads into the washing machine. You don’t need to do anything special with this, just grab 6-7 beads and toss them right on top of your clothes. They’ll do the freshening work for you.
- When switching out your laundry, if you have a front-load washing machine don’t close the door once you’ve emptied the washing machine. Leave it open to air out, otherwise, you’ll end up washing your clothes in a stinky, foisty machine.
Doing your laundry doesn’t have to be hard, after a few rounds you’ll be a regular ol’ pro. Happy washing!


